Here it is, the apple cider homebrew! This post is provided by my husband, the brewer extraordinaire. Enjoy!
Making Homebrew is really satisfying, and relatively easy. I took the basic recipe from Instructables, and made some of my own modifications.
A few things before we begin:
- All of your tools (buckets, carboys, spoons, hoses, funnels & fingers) need to be cleaned and sanitized. There are lots of ways to accomplish this. Bleach is generally pretty effective, but it’s smelly, chemically and generally sucks to deal with. One-Step No-Rinse Sanitizer is the easiest and least smelly. The guy at our local homebrew shop recommended this and this, these are environmentally friendlier, and are food grade and seem to work well and are easy to use.
- During any waiting periods, as well as fermentation I kept the vessel covered and air locked, to keep it as sanitary as possible.
- I’m publishing this as i’m making the cider, that means i’m not going to taste the cider for at least 6 months, so if it’s a terrible recipe i won’t be able to tell you until then.
- Before you brew anything you should a) go to your homebrew store and listen to their advice and/or b) do your own research on anything you don’t understand. There are also about a bazillion books on the subject of hombrew and i think about half a million of them are about wine, and in almost every wine book there will be at least one cider recipe.
The Steps:
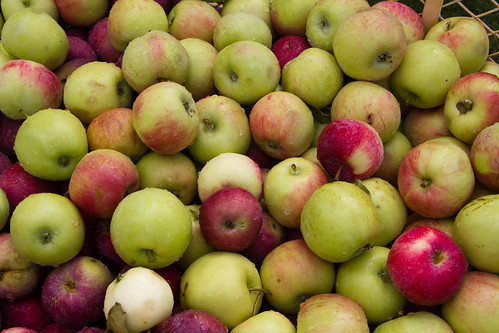
- Press enough apples to get about 5 gallons of pure juice.
- Crush and add Campden Tablets
- 1 tablet per gallon, used to kill certain bacteria and to inhibit the growth of most wild yeast
- Let sit for 48 hours. (yes, really two days)
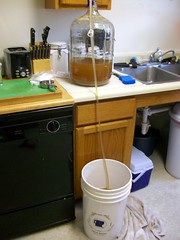
- Siphon the cider from it’s original Glass Carboy into another container, like a food-safe brewing bucket, making sure not to disturb the layer of sediment at the bottom, this will hopefully produce clearer cider with less sediment when bottling.
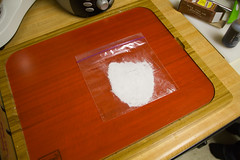
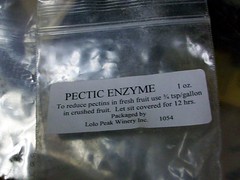
- Add Pectic Enzyme
- This will neutralize the pectins in the cider, and apples have a lot of pectin.
- Let it sit for another 24 hours so the Pectic Enzyme can make its magic.
- Now it’s time to add your other ingredients.
- Sugar: I added 7 total cups of sugar: 5 cups of brown and 2 cups of white. Other recipes called for 10 total cups, 5 cups of brown and 5 cups of white.
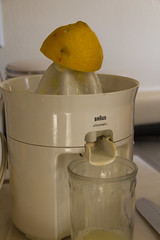
- Lemon Juice: 2.5 lemons juiced. I’m not sure what this will do but citric acid is commonly used to keep cut apples from turning brown so I decided to add it.
- Yeast Nutrient: 1/2 tsp per gallon
- Pitch the yeast. Every site will tell you to do it differently, some say to start it, some say you don’t need to, some say you need to preserve a small bit of juice initially to use as a yeast starter. I have always simply added the dry yeast right in and gently stirred to make sure it’s not just sitting on the top.
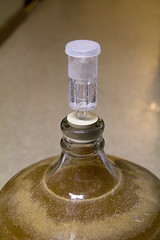
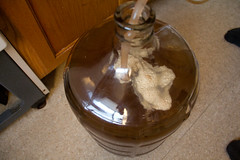
- Put your almighty airlock back on the carboy to protect it from bacteria and let it sit for 2 to 4 weeks.
- Now you are ready to bottle the cider. There are many ways to bottle homebrew, I prefer Grolsch Style Bottles because they’re really easy and can be found online or at your local homebrew store.
- And now you wait… for about 6 months (I can’t ever wait and always open one at 3 months) they say the longer you wait the better it will be. Some cider makers I know scoff at the idea of opening cider that hasn’t aged at least a year.
Have you ever tried homebrewing?



2 responses to “Hard Apple Cider, Homebrew Style”
[…] Check out my post "Hard Apple Cider" over at JoLearnsToCook This entry was posted on Tuesday, October 5th, 2010 at 7:35 pm and is […]
Thanks! Glad to help fill your day.