Remember how I told you I love my bread machine? Well, I wasn’t as forthcoming as I ought to have been. I really, really, really love my bread machine.
Ok, so it’s a little bit bulky. But it works magic! Honey Whole Wheat Bread? Done. Homemade pizza crust? You bet. And then I just discovered this bagel recipe.
The love I had for my bread machine just increased exponentially. I haven’t had bagels in ages! Most of today’s bagels are packed with sugar or high fructose corn syrup. They’re twice the size of what they were in the old days. This recipe has only 5 ingredients, and the bagels are exactly what they should be: bready and filling, crisp on the outside and soft on the inside.
If you have a bread machine, here’s how you do it.
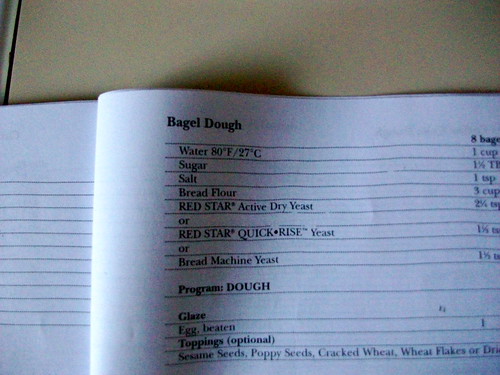
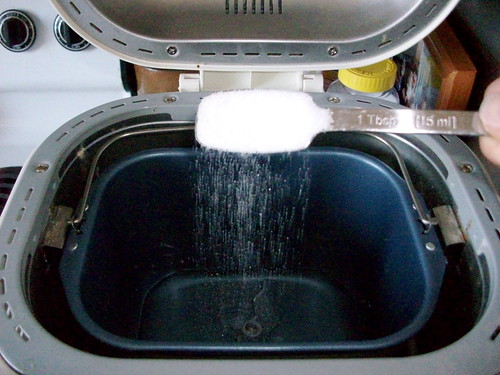
Add a tablespoon and a half of sugar to a cup of warm water.
Then add a teaspoon of salt.

Then add 3 cups of bread flour.
I know that there’s whole wheat flour in this picture. I don’t know why. Maybe I just got a little carried away when I was taking ingredients out of the pantry. Maybe I liked the symmetry. Maybe I’m just a little crazy. Who knows, but don’t use the whole wheat in this recipe, please.
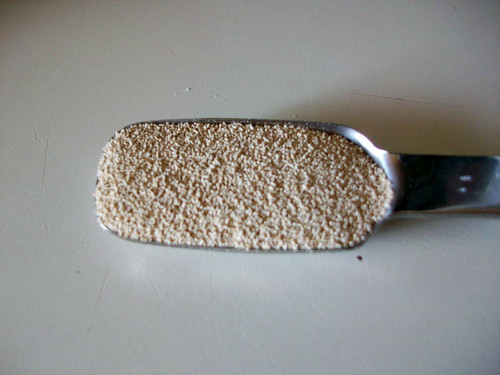
Then add a tablespoon and a half of bread machine yeast. My recipe book had amounts for other types of yeast as well, which is nice. We found that since we only use yeast when we use our bread machine that a small jar of bread machine yeast was all we needed to keep on hand. Anything else we just figure out as needed.
And then you get to turn the machine on and let it work its magic! For an hour and twenty minutes, your time is your own. You could put your feet up and read a book:
Or, if you’re me, you could use that hour and twenty minutes to fold the massive pile of laundry that you shamefully hid from for the last week.
For some reason, it looks like far less laundry when it’s all folded. I swear that this amount of clothes took up two laundry baskets! And I seriously don’t suck that much at painting my toe nails. I have a bruised toe nail. It’s not as gnarly as it seems, I promise.
No matter what you decide to do with your time, the bread machine is busy turning this
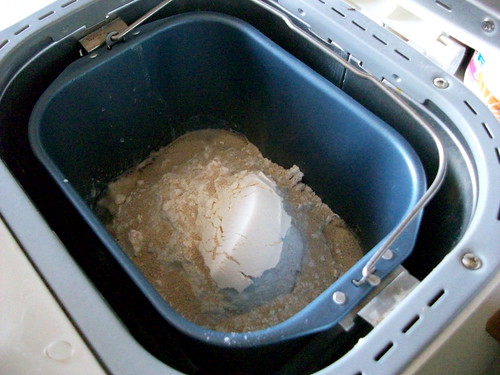
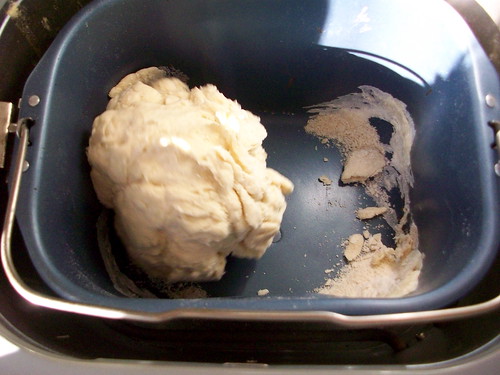
And eventually, this
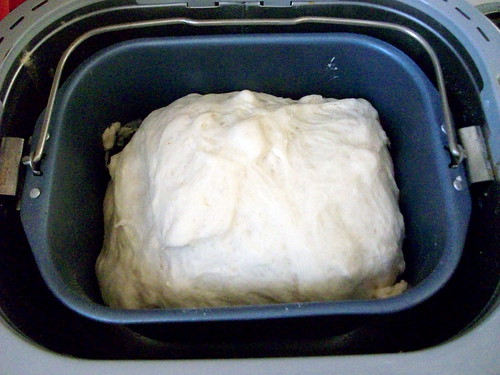
Completely mixed and risen
Remove the dough ball from the machine and place on a floured surface. Divide the dough into 8 pieces, and please do a better job at making the sizes more uniform. I’m terrible at eyeballing sections. Once the dough is divided, gently roll into balls. I had a problem with they gently part on the first two, so they lost their fluffiness.

You don’t have to force them to become round, just gently roll them in your hands and the rounding will happen naturally.
After that, use your thumb to poke holes in the middles, and then make the holes a bit bigger. Be careful not to pull too hard or the dough will tear.
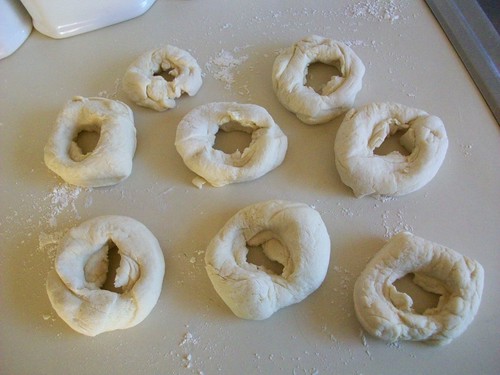
Then just cover the bagel dough and let it rise again. If there’s a sunny spot on your counter, that’s where you want them. About half an hour will do.

When the half hour is almost up, the really fun part starts. Add 2 tablespoons of sugar to a large pot of water, and then bring it to a boil. Preheat the oven to 400F.
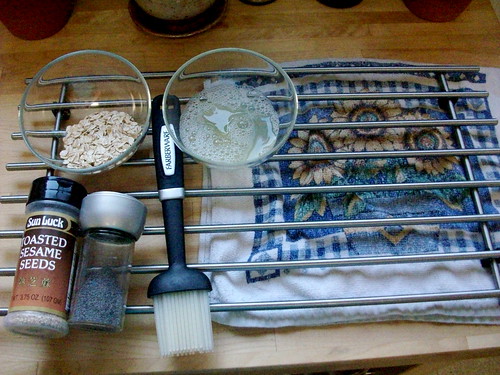
Gather your toppings
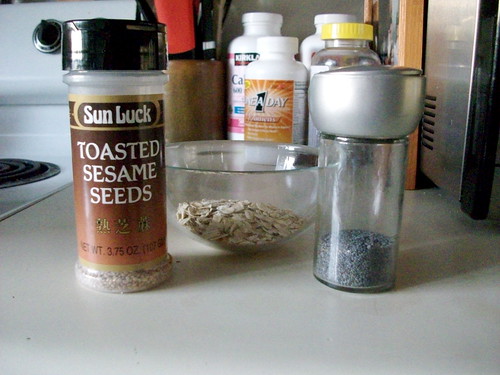
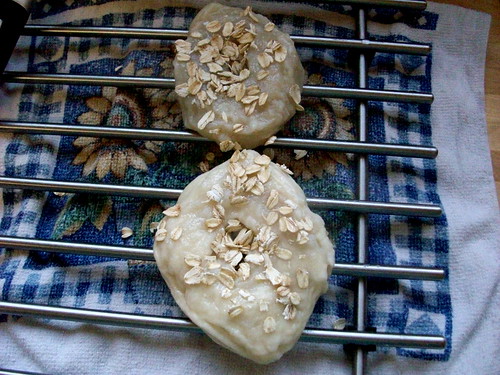
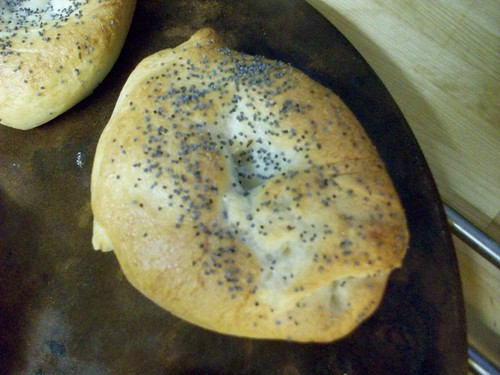
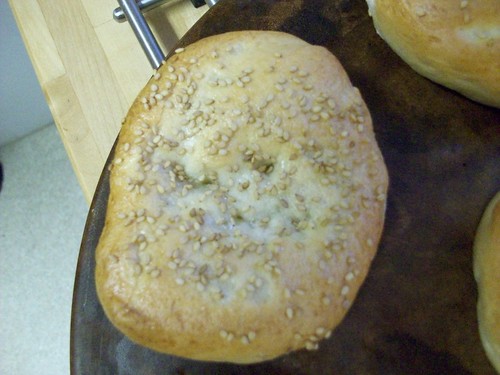
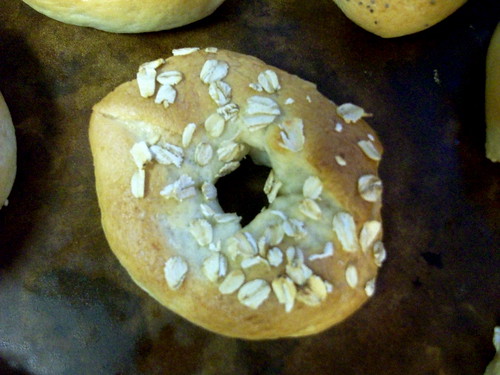
I chose to use toasted sesame seeds, poppy seeds, and raw oats.
Then crack an egg and separate the white. Add about 2 teaspoons of cool water and whisk together.
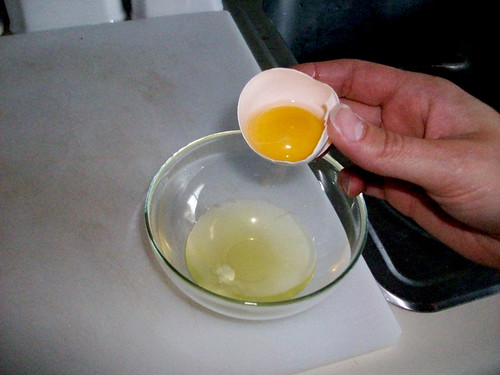
By now, your bagels have risen and are ready for the cookin.
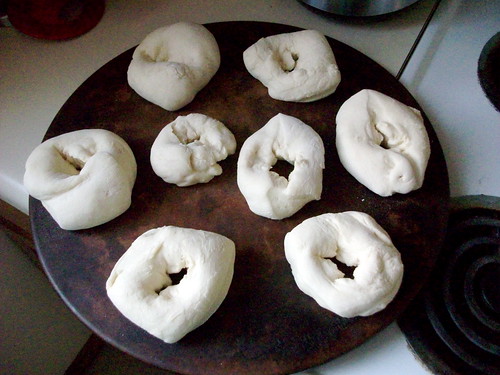
See why you want to make sure all the dough balls are uniform in size? And why you want to gently round them out? Don’t be like me.
Drop the bagels into the boiling water a few at a time.
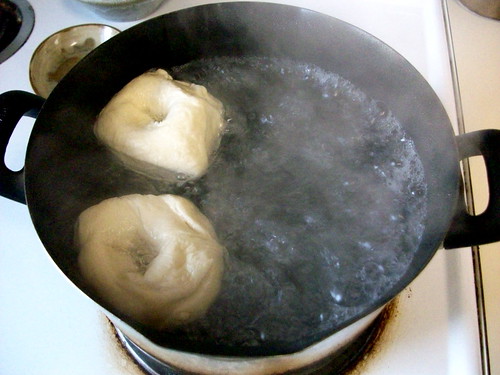
The last time I made bagels (about two days ago), I decided that if I boiled them a bit longer that they’d have a crispier crust and a softer inside. My theory was that the crispier crust would hold the moisture from the inside in better. Bad idea. At some point, my first two longer-boiled bagels totally collapsed and ended up looking like withered old men-bagels. So, don’t over boil your bagels. About a minute and a half per side is perfect.
When you pull them out of the water, it helps to have a bagel dressing station ready to go
Brush one side of the bagels with the egg wash, and then sprinkle on the toppings. If you’re feeling frisky, turn those bad boys over and repeat on the same side. I was lazy, so only one side got topped.
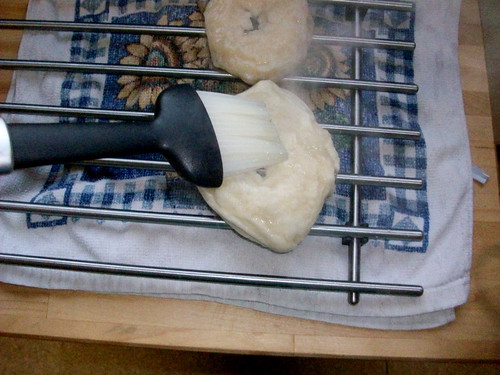
Repeat the process until all of your bagels are topped.

Pop them in the oven for 20-25 minutes. This is what comes out
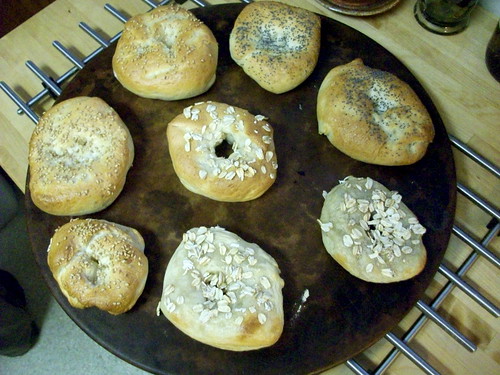
Oh mama! These are good.
I’ve never tried this without the machine, so I don’t know how to tell you to make them without it. I imagine it’s very similar, but I don’t know the process for kneading and rising. Maybe some day, but I wouldn’t want to offend my bread machine by leaving it in the pantry.
I’m not one to waste, so I did try one of the withered bagels. It was surprisingly tasty, but weirdly chewy. Too thin to slice and toast, but at least now I know not to over boil!
I’d love to know if you’ve ever tried to make bagels before. How’d they turn out?


4 responses to “Bagels: An In Depth Look”
[…] Remember when I used my bread machine to make bagels? That was an awesome day. Well, I did it again, and this time I added a half cup of frozen […]
The bit about the old man bagels made me laugh. Ah, you’re hilarious.
Thanks for making bagels look doable! I’ve always been frightened of them (making them, that is. I do not fear bagels themselves. That would be irrational), but now that I’ve got bagels on the brain I feel like giving them a try…
I’ve had them on the brain again as well. I think bagel Saturday is coming soon 🙂
[…] May 5, 2011 in Cooking | Tags: Baking, Cooking, Dough, Eating, Food, Kitchen Experiments, Living, Recipes | by Jo Remember awhile ago when I made bagels? […]