I made chicken pot pie quite often a million years ago. We got these beautiful, oven-safe bowls for our wedding, and I was super excited to make individual servings for everyone. They were so delicious, and fun to make, and easy! I would just put a ready made pie crust into each bowl, fill it with stuff, and then fold the dough over to seal it up.
And then came that dark day. The day that I turned over one of those boxes of ready made pie crust and actually read the nutrition information.
800 CALORIES!!! PER CRUST?!?!?
My jaw hit the ground so hard I’m honestly surprised I have teeth. I’d never made pie crust on my own before, so I had no idea they consist of butter and flour. My mind swam as I thought of those 800 calories of crust plus everything else that went into said crust! We’d always joked about how filling they were, but it was never a problem to put two-thirds of it away in a single sitting.
I cried a little as I put the boxed pie crust back in the store refrigerator. I love chicken pot pie! I’d started making them at home after I saw how full of sodium the Marie Calendar’s versions were. And the individual bowls were so fun and creative!
Later I attempted to make my own pie crusts, but all the recipes I found were equally unhealthy, and many contained shortening, which I just can’t do. Even vegetable shortening. I know that shortening is a perfectly acceptable ingredient, but something about it just gives me a mental block. If I don’t know it’s in there, please don’t tell me.
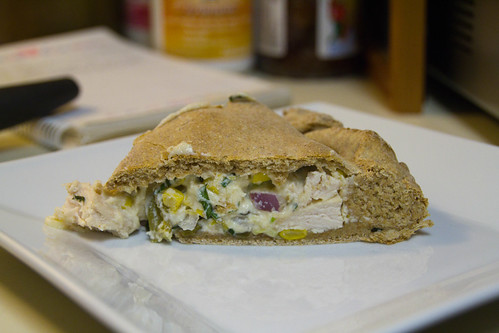
Anyway, after many, many, many Frankenstein creations, I finally came up with something delicious. It’s not served in individual bowls, or even a pie dish, but it’s pretty, pot-pie like, and husband and son approved. I don’t want to know the caloric content, so I’ve purposely not tried to guess. What I do know for sure is that it has nutritional benefits from the whole wheat flour and vegetables, and it’s quite filling–therefore easy to eat in moderation. It also makes a lot, so it would be great to serve for a crowd. (The three of us ate less than half in one meal.)
What’s in it:
The crust
- 2 1/4 cups whole wheat flour, plus more for dusting the counter and rolling pin
- 3 tsps baking powder
- 1/2 tsp salt
- 1/2 tsp cumin
- 1/3 cup apple sauce
- 2/3 cup skim milk
The filling
- 2 cooked chicken breasts (I have never just had cooked chicken from a previous recipe on hand, so I just sliced two defrosted chicken breasts into strips, broiled, let rest for 5 minutes, then cubed)
- 1 1/2 to 2 cups part skim ricotta cheese, depending on personal preference
- 1/2 cup grated parmesan
- 2 tsps paprika
- 3 green onions, sliced
- 1/4 cup diced onion
- 1 clove garlic
- 1 cup corn
- 1 cup green beans (I was gonna use broccoli, but forgot to buy it at the store. After I fired myself for gross misconduct, I pulled a can of green beans out of the pantry and re-hired myself–on a probationary basis)
- lots and lots of fresh basil, shredded
- any other vegetables or herbs/spices you can think of
- And also, these amounts are just a loose sketch. Feel free to add or subtract wherever necessary
The process:
Preheat the oven to 450F
Whisk together the flour, baking powder, salt and cumin 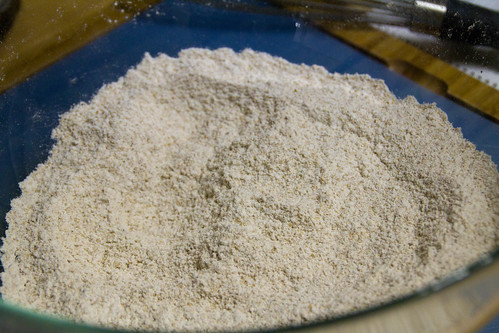
Add the apple sauce, followed by the milk 
Mix only until combined! Try really hard not to overwork the dough. 
In a separate bowl, combine filling ingredients and give them a good stir. 
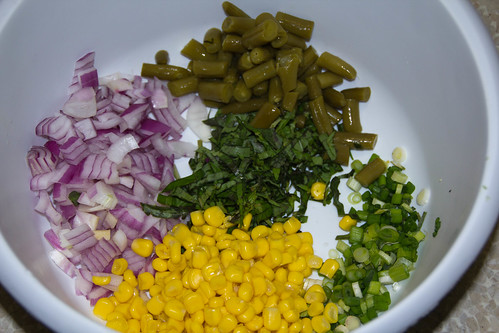
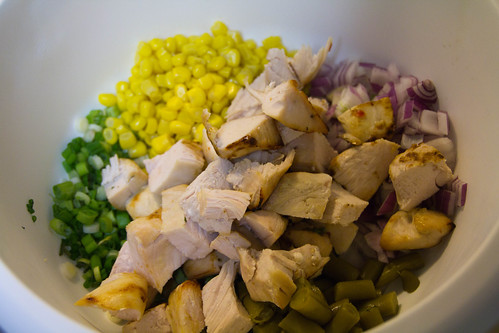
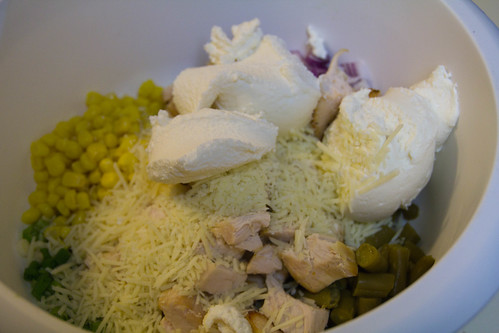
Next, flour a rolling surface and rolling pin. And I mean flour baby. This dough starts out sticky. Place half of the dough onto the floured surface. 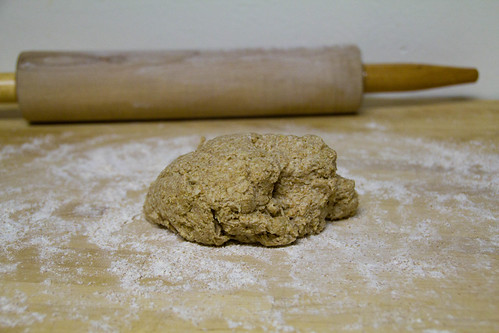
Roll the dough into a roughly circular shape and carefully move it onto a pan. I prefer stoneware, but use what you’ve got.
(Confession: I really suck at working with dough. For realsies. I usually start crying until Nick comes to my rescue and fixes the world. And by that I mean rolling out the dough until it’s perfect and then gently placing onto whatever pan/plate it needs to end up on. He’s my hero. This was the first time I’ve had a little success, and I did it all by myself! I had to use lots and lots of flour. And it took a bit of finesse getting the dough to not stick to the counter) 
Spread the filling over the dough, leaving some space on the edges. Then repeat the rolling process with the other half of the dough. Gently drape the top crust over the filling. 
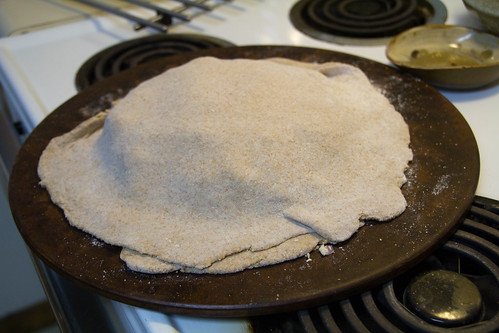
Roll the bottom crust over the top crust, and then press with a fork for good measure. You don’t want this popping open during baking. 
Then cut a few slits to let the steam escape. If you’re artistic, you could do something really pretty here. I’ve known from a very early age that all my artistry is in my feet. No big deal. 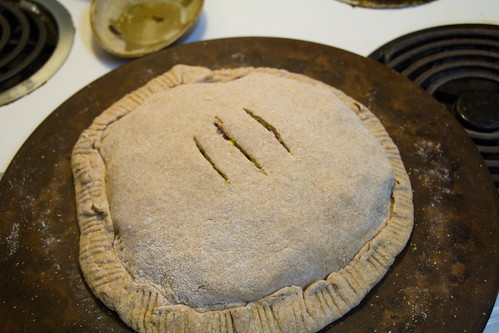
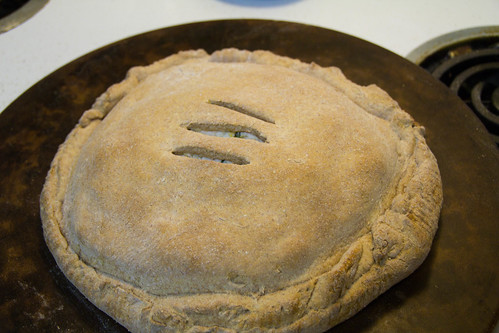
I used a pastry brush to remove the excess flour that gets on the crust during rolling. It never occurred to me to then brush the crust with butter or an egg wash, and really, I don’t think it needs it. However, if you want to try it, let me know how it goes. It might make it that much prettier. This took about 15 minutes to bake the biscuit crust all the way through, and if I would have spread the filling out just a tiny bit more, it would have been hotter in the middle (it was definitely warm, but there was no steam going on). Whatever! It tasted so good! I paired it with a giant salad, and we had an excellent meal. I’ll leave you with the final shots.
One response to “Chicken in a Giant Biscuit”
[…] I’ve made creme brulee the perfect shade of golden, caramel brown. I’ve even made chicken pot pie without a pie […]