It’s just so pretty!
I first saw it in a bakery in Seattle. Naturally, I assumed you had to go to bread baking school to make something so beautiful.
It’s kind of true, but mostly not.
Pain d’Epi is French for bread that looks like wheat. Fitting, since that’s where flour comes from, and bread is made from flour.
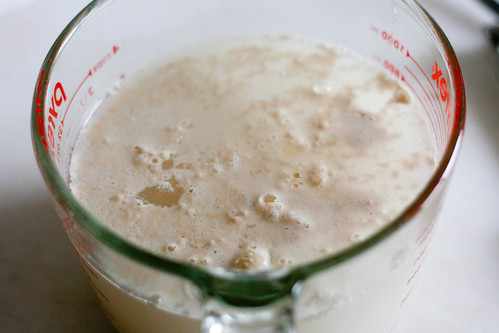
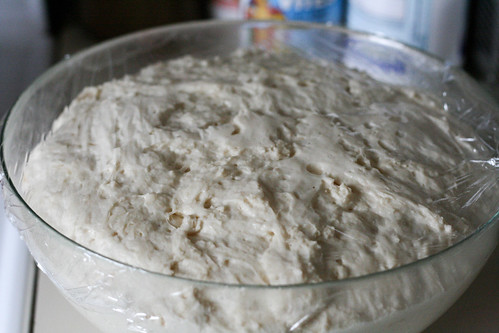
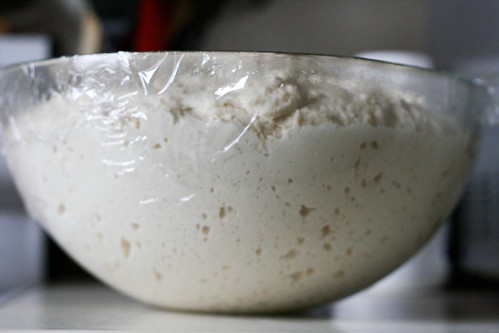
I actually made this without my bread machine. It felt way too easy, so I was sure I’d screwed it up. Sure enough though, it rose and rose and rose.
The only difficult part of making this bread was shaping it. I had to try a few times to get it right.

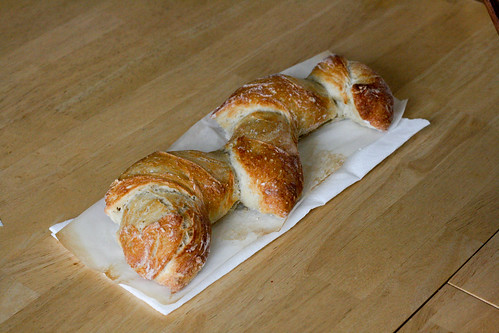
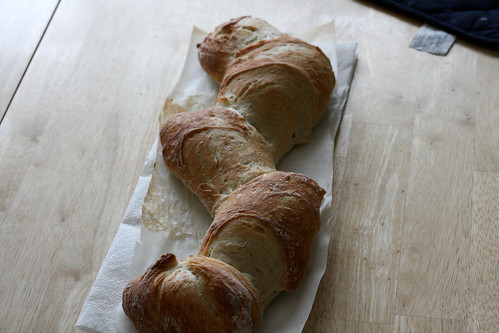
Not pretty. This was my first attempt. My sous chef said it looked like a bunny, so I decided to just say I did it on purpose. Bunny bread, just in time for Easter!
Luckily, it tasted far better than it looked. Perfectly crusty and crisp on the outside, fluffy and pillowy on the inside. And even if it didn’t look like a wheat stalk the first time around, it still pulled apart into single portions like it was supposed to.
Want to know how to do it? Go here. That’s probably the best tutorial out there, unless you find a video on Youtube. I didn’t check there. Sorry. Maybe if I had, I wouldn’t have made bunny bread.
Anyway, here’s the recipe. Try this out and impress the heck out of your friends. Hopefully the first time around, not the third.
Pain d’Epi
Makes 3 loaves
6 1/2 cups all purpose flour
1 1/2 tbsp active dry yeast
1 1/2 tbsp salt
3 1/4 cups warm water (I’m told that between 115F and 120F is perfect for yeast activation)
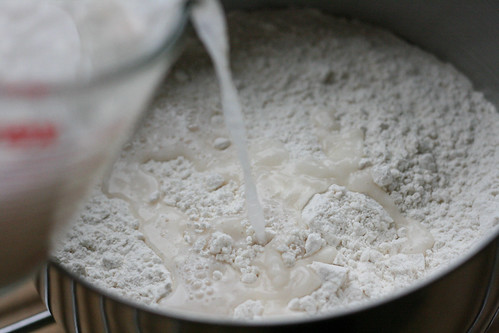
Add the yeast to the warm water. Gently stir once and then let sit for about 5 to 10 minutes. Meanwhile, mix the flour and the salt. Add the yeastwater to the flour and gently combine. You don’t need to knead, per se, but make sure that all the flour gets incorporated.
Transfer the dough to an oiled container or bowl. I read that a 5 gallon bucket with a lid is great for rising bread, but I don’t have one, so I used the biggest bowl I could find and loosely covered it with cellophane. If you go the bucket route, make sure you don’t seal the lid on tight. It could very well blow the lid right off.
Let the dough rise for two hours. This works best in a sunny spot where it’s not going to encounter any drafts. I had used the oven earlier in the day, so I just left my dough on the counter where it would get that residual heat.
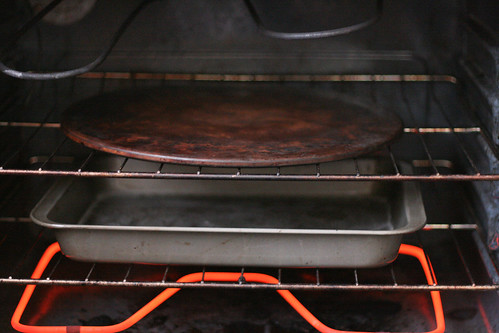
After the dough has risen, you can cover it completely and store it in the fridge for up to a week, or you can get right to baking. If you’re ready, preheat a baking stone in the top half of the oven, and a broiler pan in the bottom half at 450F.
Pull off a chunk of dough, loosely roll it into a ball, and then let it rest on a floured sheet of parchment for a couple of minutes. Come back to it, and then stretch it out into an oval. Fold one side in longways, then the other side over that. Because it’s on the parchment, you’ll be able to easily transfer the loaf to the baking stone when it’s time.
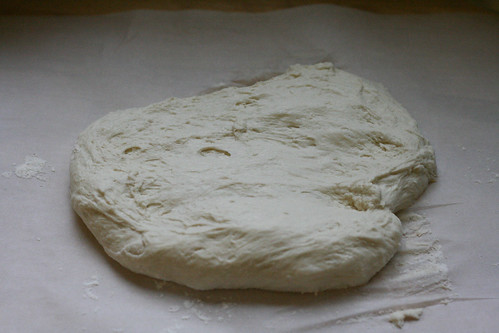
Not oval enough. This was the bunny loaf

See how the ends are wide and round? They should be narrow and slightly pointy. That initial oval shape is pretty important.
Gently stretch the dough so that it becomes a long baguette with pointy-ish ends. Don’t squeeze hard though, because it will compress the air. If you find the dough is resisting, just let it rest a few more minutes. It should be much easier to work with when you come back to it.
Then comes the part where you should really study the tutorial. Using kitchen shears or scissors, cut the dough at a 45 degree angle, almost all the way through. Gently angle that chunk of dough away from the loaf, and shape the tip if needed. Repeat this process along the entire loaf.
Trim the parchment paper so that it won’t hang over the edge of the pan and grab about 1 1/2 cups of warm water. Working quickly, place the dough on the baking stone, and pour the water into the broiler pan. Don’t be surprised (like I was) if it splatters and boils right away. Close the oven door and bake for 35 minutes. The bread should be golden brown before you take it out of the oven.
This bread is best served fresh, while it’s still slightly warm.
Good luck, and if you discover any tips to make it look prettier, PLEASE share them with me!



8 responses to “Pain d'Epi (or my Bread Saga)”
This looks fantastic. I don’t know why I have such a fear of bread making. If I knew I would end up with a loaf like this, I would absolutely be bolder 🙂
I was always scared to try making any yeast bread without my bread machine, but this gives me hope that it’s entirely possible 🙂
What a beautiful loaf of bread!!!!! You did an amazing job!!!! I love making bread…it’s my favorite thing, and now that you have some confidence, I’ll bet you’re gonna be making more and more loaves without your bread maker. And you’re gonna love every minute of it I’m sure! 🙂
I’m sure you’re right!
[…] all know I suck at presentation. It’s something I’ve learned to deal with, because for the most part, I can make it […]
[…] just a dusting of powdered sugar. But I’ve never made a layer cake. And we all know that presentation isn’t my strong […]
[…] not a crafty person. I could reiterate, but it’s ok, you can take my word for […]
[…] seven: Serve with homemade baguette. (Or, if you’re not a foodie dork like me, buy a really high quality baguette, slice it up […]