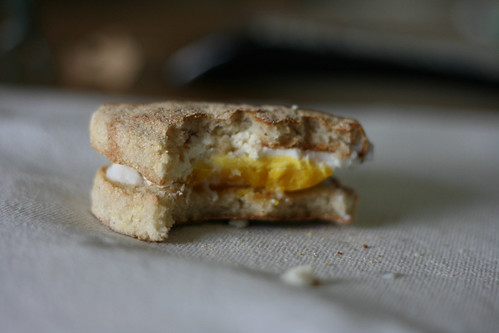
We all know I suck at presentation. It’s something I’ve learned to deal with, because for the most part, I can make it taste good.
I’ve made cheesecake without the top cracking. I’ve made creme brulee the perfect shade of golden, caramel brown. I’ve even made chicken pot pie without a pie dish!
But there was one thing that I’ve just never been able to achieve. I’m not talking “It didn’t look pretty, but it was edible” or “I made some mistakes but ended up with something almost as good.”
No, since I started this fun, laughable, delicious culinary journey, I have always wanted to poach an egg. Folks, it’s harder than it looks.
I’ve seen the tutorials. I’ve watched Julie & Julia more times than I’ll admit.
And I’ve wasted so. many. eggs. It saddened me. So I tucked it away in the back of my mind, in that place where I store things that nag me. Things I can’t admit to anyone else for fear of ridicule. What self respecting food blogger can’t even poach an egg?
Me.
Months after I had given up on my poached egg dreams, I got a call from my mother in law. She was visiting family, and someone brought up how delicious but difficult poached eggs are. In her sweetness, her blind faith, she said, “I know someone who can do it for sure!” And then she proceeded to call me.
I had to admit–out loud, no less–that I had never successfully poached an egg. The shame! It was too much. I knew I had to do it.
Ladies and gentlemen, I did it. On my very next try. I freaking did it!!
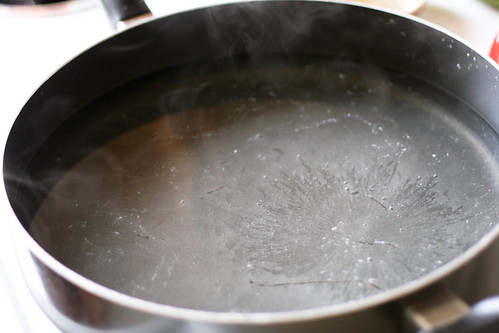
Start with hot water. Put it on the stove over medium/high heat.
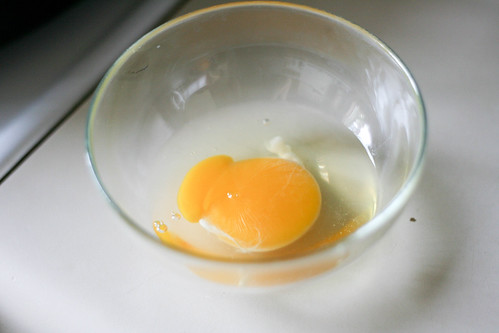
Crack an egg into a bowl. Cracking it right into the water isn’t going to cut it. You don’t want it hitting the bottom and then spreading out everywhere. Putting the egg into a bowl allows you to gently tip it in right at the surface of the water.
When bubbles just start to form:

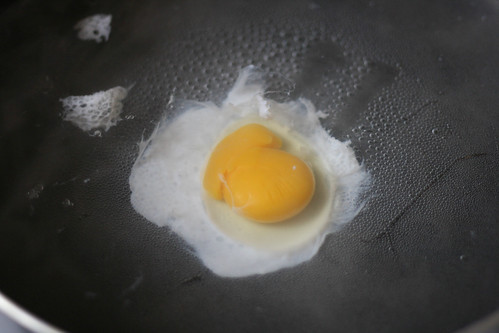
Place the bowl right at the surface of the water and tip the egg in.
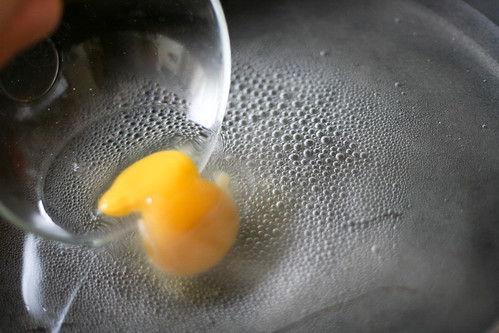
You don’t want to move the water around and break up the egg. After about 30 seconds, you can gently ever so gently start to lift the edges from the bottom of the pan.
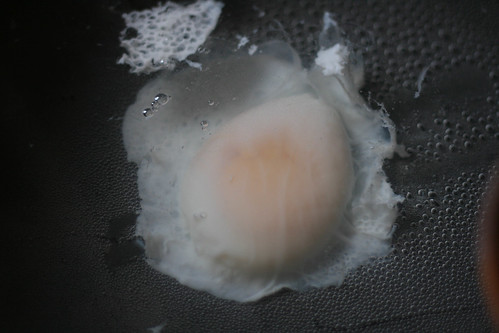
After awhile, you can gently ever so gently start to move the egg around.
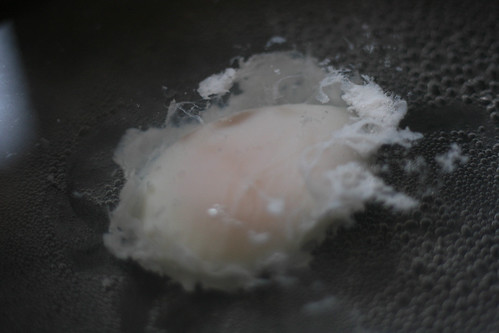
Then, after about 7-10ish minutes in the water, you can lift it out with a slotted spoon.
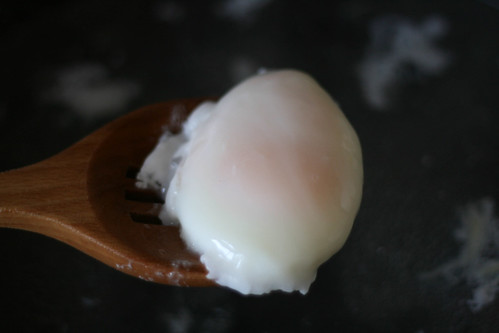
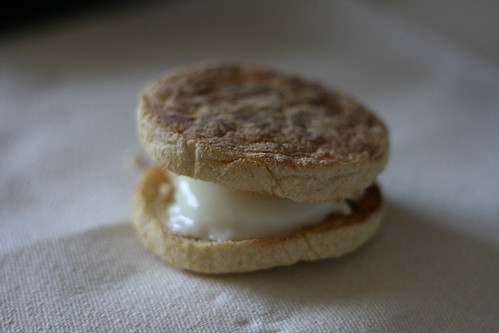
I was so excited to try making a poached egg that I hadn’t really thought about how I’d serve it. Fortunately, I had some feta and an English muffin. Perfecto!

I feel it is my duty to inform you that runny yolks can pose health risks. You’ll notice that my yolk wasn’t runny at all, but I didn’t know that until I had bitten into it. To be on the safe side, make sure you err on the side of more done, probably at least a 10 minute cooking time, depending on how hot your water stays. (It felt like it took foooooreverrrrrrrrrrrrr to cook, but I was really hungry at the time.)
Poached Eggs
Add about an inch and a half to two inches of hot water to a deep skillet, place on the stove over medium high heat. Crack each egg into its own bowl.
When the water starts to form bubbles on the bottom of the pan, turn the heat down slightly.
Place the edge of the bowl right at the surface of the water and let the egg slide into the water.
After about 30 seconds, use a wooden spoon to gently nudge the edge of the egg to loosen it from the bottom. If you get too overzealous with your nudging, the egg will separate and you’ll have a pan full of nastiness.
The more done the egg, the easier it will be to move around. Eventually it will “solidify” and you can take it out of the water.
***It’s important that you never actually allow the water to fully boil. Especially when the egg is in the water. You just want it right on the verge of bubbles.
Try this soon, and if it doesn’t work, give it a few months. Don’t give up!
Poached egg victory tastes so sweet.

2 responses to “Poaching Victory!”
I have never poached an egg! And we have lots of eggs. I will be trying soon. Thanks for your tutorial!
I bet it will be even easier with those fresh eggs!