I’m not a crafty person. I could reiterate, but it’s ok, you can take my word for it.
Lately I’ve had the urge to make stuff. Not food stuff, though I’ve been doing plenty of that, too.
It started with some alterations to a dress. Yeah, it’s still sitting next to my bed waiting to get finished.
Then I made a camera strap out of Nick’s old tie. It was fun, and it’s cute, though admittedly not the greatest sewing job I’ve ever done.
And then *I* went all out!
*I* made labels for my jars!!
**It was my idea, but I made Nick do it since he actually is skilled at making things look awesome.
(It’s exciting! I’ll show you)

I’ve had these gallon-sized glass jars for a few months now, and I’ve been using them for my flours and sugar.
I’ve had no problem identifying what is in each jar, but apparently I’m just extremely gifted. Fortunately we’ve had no sugar/flour switcharoo incidents. I’ve been meaning to label them, but I wanted cute/artistic labels, so I’ve been holding off until I could find some.
Admittedly, they’d be a lot easier to find if I actually looked. Ah well.
But this weekend, it totally hit me–chalkboard paint!!
Did you know they even make such a thing? I did, and I’ve always wanted to use it for something cool. A trip to Home Depot later, and we had chalkboard spray paint and some wide painter’s tape.
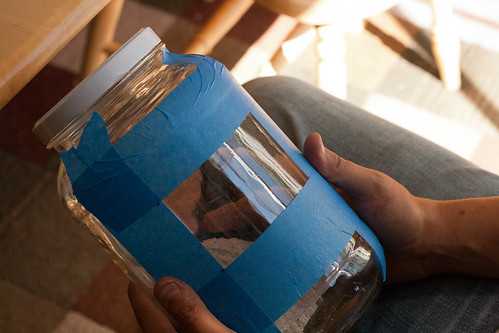
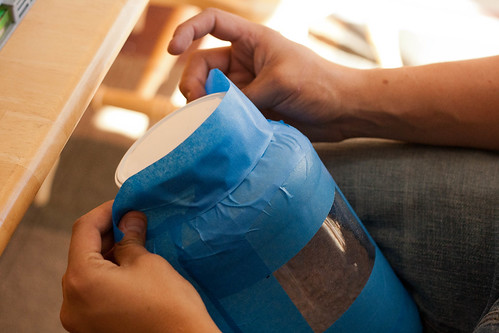
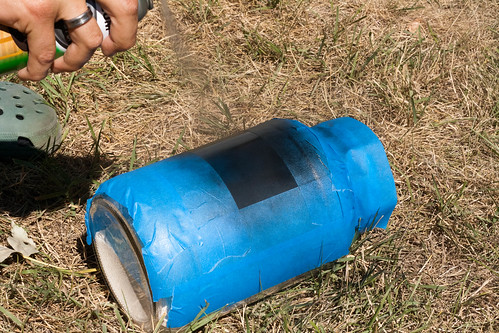
I have four jars total, so we played around with the first jar to see how big/where the label should go.
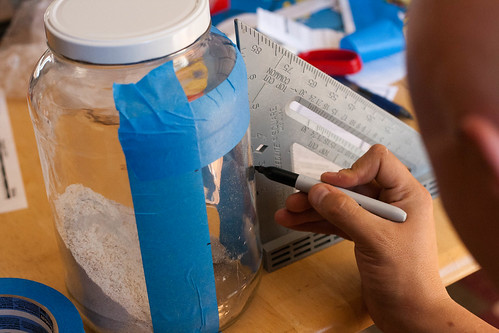
Then more tape was added to prevent the paint from spreading onto the rest of the jar.

After that, it was just a matter of following the directions on the can of paint.
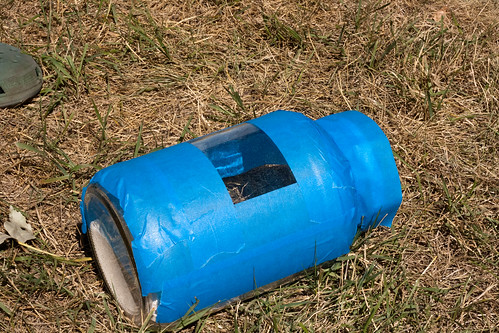
I’d recommend putting some cardboard or a paint cloth under the jars to catch the paint. We were excited and in a hurry though.
Once the area was fully covered, we left it in the sun to dry.
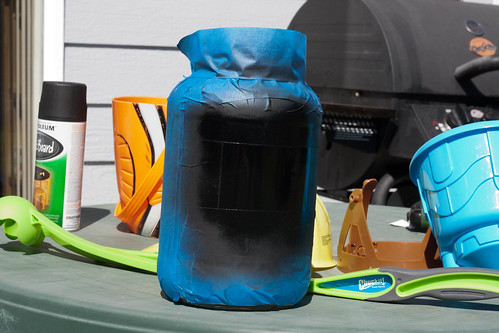
In the meantime, we taped and painted the rest of the jars, removing the tape when the paint had dried for a few minutes.
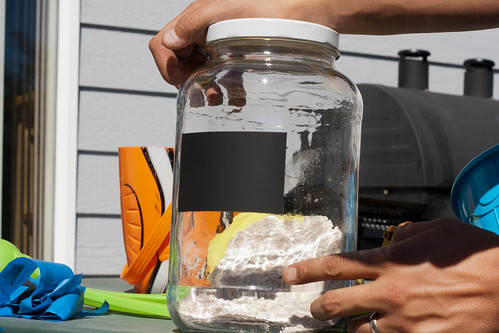
Some of the lids had been written on with sharpie markers, and no amount of scrubbing and washing could get it off, so we decided to paint those too.
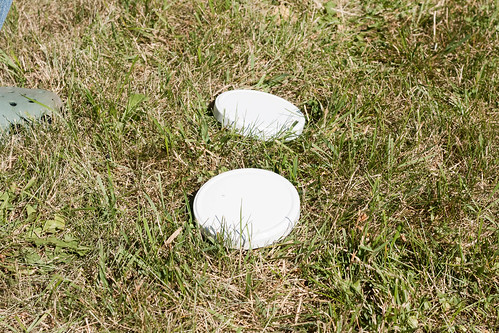
Again, a drop cloth or cardboard would have been a good idea. Fortunately, watering the grass with the sprinkler got a lot of the paint out, and mowing the lawn will take the rest of it out.
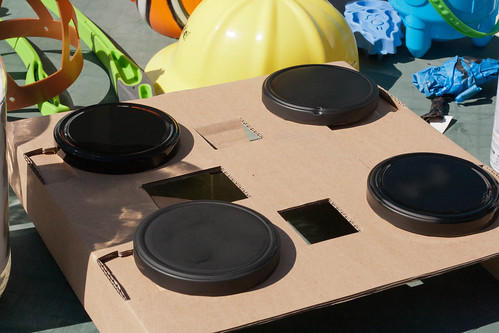
Hey look, we found some cardboard!
I’m so pleased at how well they turned out!

And for less than $5 per can of paint, I think I can find a lot more projects *I* can do around the house. Wouldn’t these be awesome Christmas presents? If you’re a member of my family, pretend you didn’t see how easy this was!
What did you do over your long weekend?

6 responses to “Craft Project”
cool!!! I would’ve never thought to do something similar 🙂
So far they’re holding up beautifully, but I’ve decided they’re probably not dishwasher safe.
[…] are a hot commodity in my house because they are perfect for storage. I love the idea of using chalk board spray paint to put permanent labels on these […]
Jo, I just found your blog from a comment you left on Zesty Cook. I love it! Like you, I have some large jars that I’ve repurposed. I love your idea of the chalkboard paint! And I like your blog in general – I love when people use the step by step photos and comments. It just brings it alive. I’ll be following you!
~SusieQ~
Thank you so much!!
Anyone have any idea what size lids would fit and where I could get some? I have about 20 jars but no lids. Would like to use for flour, sugar, cereal, etc.